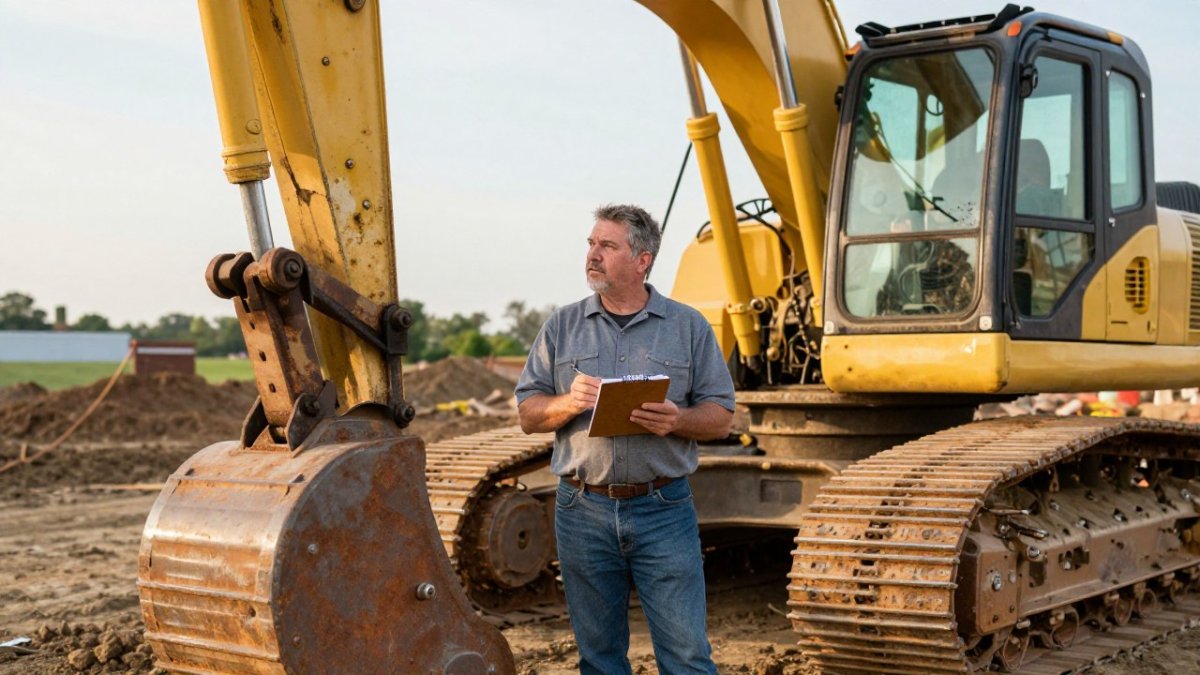
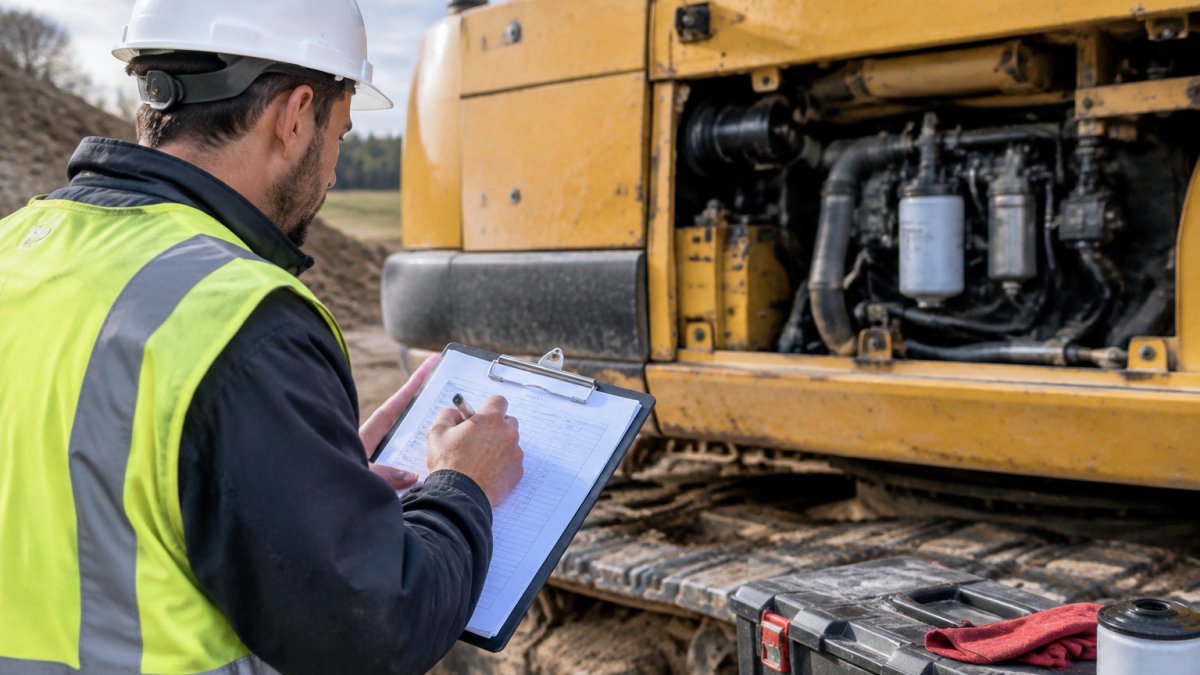
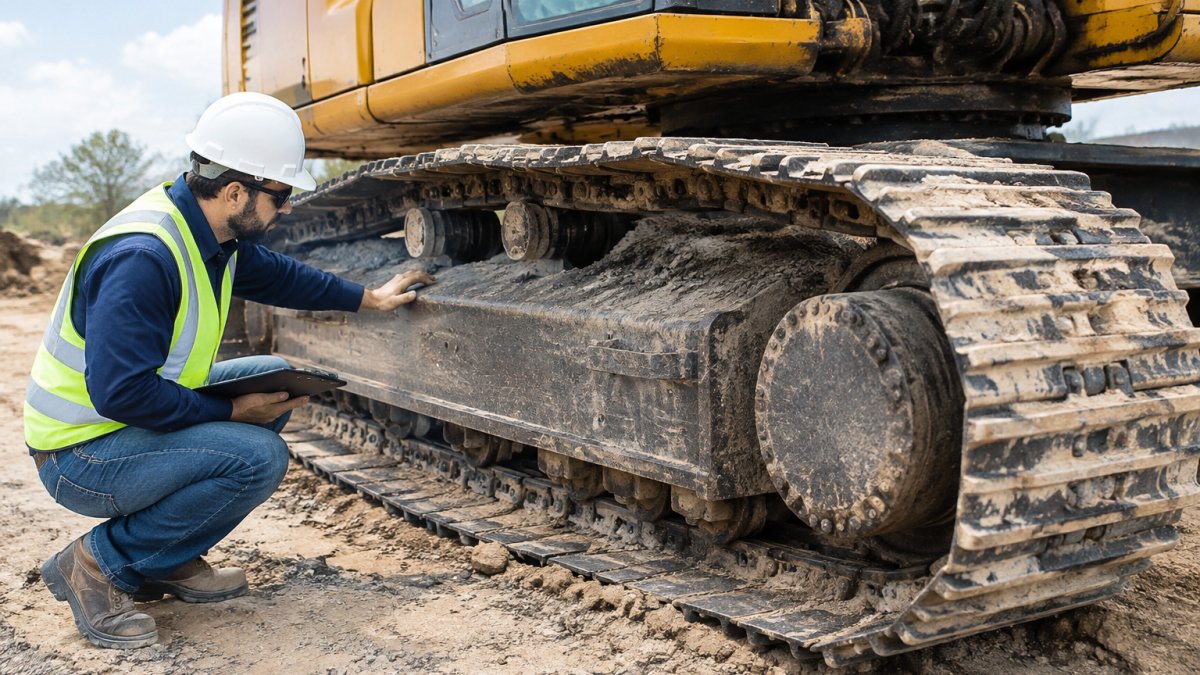
 how-to
How Do You Safely Inspect Used Heavy Equipment Undercarriage?
Last Updated: November 4, 2026
Quick Summary
To safely perform an undercarriage inspection, park the machine on level firm ground, lower the attachment, set the parking brake, shut off the engine, take the key, and lock out or tag out stored energy before you go near the tracks. Then check tracks, pins, bushings, shoes, sprockets, idlers, and rollers visually and with a wear gauge, comparing every reading to the manufacturer's specifications.
- A visual pass should take ten to fifteen minutes per side in good light.
- Measure track sag, grouser height, and bushing and pin wear against the model's specs.
- Never crack track adjuster fittings or reach into the chain path, even with the machine off.
- Score each checklist row pass, watch, or fail; two or more fails means price the repair or walk.
- Request a qualified technician when readings are borderline, access is limited, or records are missing.
Table of Contents
- Why the Undercarriage Decides What Used Equipment Really Costs
- OSHA Heavy Equipment Safety Standards: What to Know Before You Touch the Machine
- Step 1: Visual Inspection of Tracks and Major Undercarriage Components
- Step 2: Undercarriage Wear Measurement Guide for Pins, Bushings, and Shoes
- Step 3: Check Track Tension, Sag, and Adjustment
- Step 4: Clean, Document, and Record What You Find
- Your Heavy Equipment Pre-Purchase Inspection Checklist
- Turn Inspection Findings Into a Financing Decision
- Frequently Asked Questions
Why the Undercarriage Decides What Used Equipment Really Costs
The undercarriage is the single most expensive wear system on a tracked machine, and it is the one sellers hide best.
Undercarriage inspection is the visual and measured check of a tracked machine's wear parts, including tracks, pins, bushings, shoes, sprockets, idlers, and rollers, done before purchase to estimate remaining life and repair cost.
That matters because undercarriage work sits at the top of the repair list on most tracked machines.
Below, we walk through a safety-first, step-by-step inspection you can repeat on every machine you evaluate.
OSHA Heavy Equipment Safety Standards: What to Know Before You Touch the Machine
Start with the rules, not the wrenches. The Occupational Safety and Health Administration (OSHA) governs how equipment must be shut down and secured before anyone works near it. The relevant requirements live in OSHA's machine guarding and lockout/tagout standards, and they exist because stored energy kills people who skip steps.
The Shutdown and Securing Sequence
Before you crouch beside a track, run this sequence in order and do not skip a step because the seller is in a hurry:
- Park on level, firm ground. Soft mud, a slope, or a spoil pile can let a machine settle or roll while you are beside it.
- Lower the bucket, blade, or attachment to the ground. A raised attachment is stored hydraulic energy.
- Set the parking brake and put the controls in neutral or the lock position per the operator's manual.
- Shut the engine off and take control of the key. Keys stay in your pocket, not the seller's.
- Lock out and tag out any hydraulic or electrical energy per the owner's procedure. On machines with a battery disconnect, use it.
- Block or crib any component you must work under or beside if it can drop, and never rely on hydraulics alone to hold a load.
Never crawl under a raised machine or reach into a track area while it runs. Watch out: a machine that rolls, drops, or is started by someone else during an inspection can crush a person, and no used-equipment deal is worth that risk.
Component-Specific Hazards on the Undercarriage
Each part of the undercarriage carries its own hazard, and knowing them changes how you stand and reach:
- Track chain and sprocket area: pinch points between the chain and sprocket teeth, and stored tension in a stretched chain. Keep hands out of the chain path even with the machine off.
- Track adjuster: a grease-filled cylinder under pressure. Do not crack fittings or loosen the adjuster to "check" it; a released adjuster can move the idler and chain suddenly.
- Rollers and idlers: hot surfaces after operation and oil under pressure at seals. Let the machine cool before touching.
Ground, Lighting, and Access Conditions
Inspection conditions decide whether your visual pass is worth anything. Work in daylight or with a bright flashlight, on level ground, with the machine clean enough to see wear surfaces. Packed mud, recent washing that leaves surfaces wet and reflective, uneven ground that throws off a sag reading, and areas you cannot reach without climbing all make visual estimates unreliable.
Step 1: Visual Inspection of Tracks and Major Undercarriage Components
A visual pass should take ten to fifteen minutes per side. Work in good light, clean the worst of the mud off first, and look before you measure.
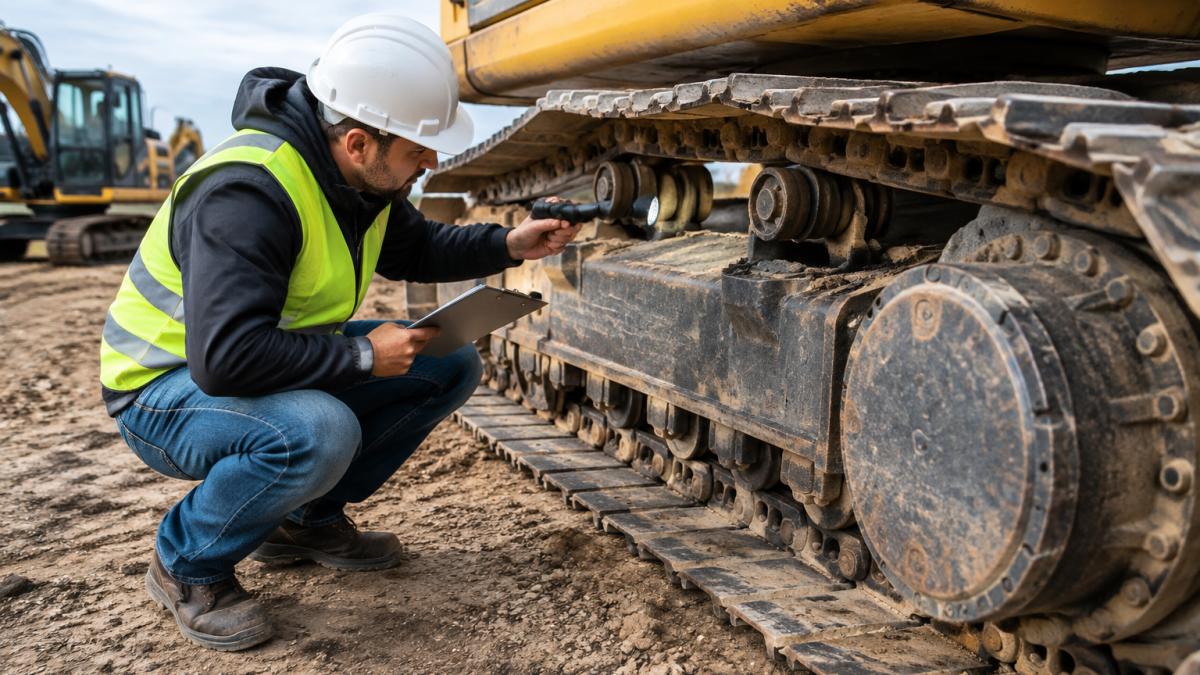
Track Links, Pins, Bushings, Shoes, and Grousers
Check the track chain first. Look for:
- Track links with cracks, bends, or heavy scuffing.
- Track pins and bushings that show flat spots or bright, polished wear.
- Track shoes with worn or broken grousers.
Judging tracks by tread depth alone can be misleading, because internal pin and bushing wear largely determines remaining life, and that wear is hard to judge from the outside.
Sprockets, Idlers, Rollers, and Visible Damage
Move along the drive end and the running gear. Look for:
- Sprocket teeth worn to a sharp point or hooked shape.
- Idlers with grooves, wobble, or cracked rims.
- Track rollers and carrier rollers that are flat-spotted, leaking, or seized.
Debris buildup hides damage and traps moisture. Clean it out before you trust what you see.
Step 2: Undercarriage Wear Measurement Guide for Pins, Bushings, and Shoes
Visual checks find damage. Measurements find remaining life. An undercarriage wear measurement guide works best with the right tools: a wear gauge, a tape, and the manufacturer's specifications for that model.
Measure these three things:
- Track sag, taken on a level surface.
- Grouser height, using the wear gauge.
- Bushing and pin wear, measured against the model's service limit.
Then compare every number to the manufacturer's specifications, not to a generic chart. A wear gauge tells you where a component sits against the limit, and a tape confirms sag.
Step 3: Check Track Tension, Sag, and Adjustment
Track tension changes the whole wear picture. Too loose and the chain slaps and jumps; too tight and pins, bushings, and sprockets wear faster.
Check track sag on level ground with the machine parked as the manual directs. Compare the measured sag to the model's spec. If the adjuster is maxed out, the chain is likely near the end of its life.
Step 4: Clean, Document, and Record What You Find
Clean the undercarriage, then build a record. A repeatable inspection checklist and photo record is the difference between a hunch and a negotiating position.
- Photograph each side, front to back, in good light.
- Photograph every wear gauge reading next to the part.
- Note cracked, bent, or missing components by location.
Inspection conditions matter. A dirty machine in bad light hides wear, so note what you could not see clearly. A visual pass is not a professional assessment; a qualified technician should confirm anything borderline.
Your Heavy Equipment Pre-Purchase Inspection Checklist
Use one page per machine so every evaluation is comparable. A heavy equipment pre-purchase inspection checklist should cover safety, visuals, measurements, and records.
| Check | How to Do It | What Good Looks Like |
|---|---|---|
| Safety setup | Lockout, level ground, bucket down | Machine secured, no stored energy |
| Track links and pins | Visual, flashlight | No cracks, no flat spots |
| Shoes and grousers | Wear gauge | Above the model's wear limit |
| Sprocket teeth | Visual | Full, even teeth, no hooks |
| Idlers and rollers | Visual, check for leaks | No grooves, wobble, or leaks |
| Track sag | Tape measure | Within the manufacturer's spec |
| Damage and debris | Visual after cleaning | No cracks, bends, or packed mud |
| Records | Ask the seller | Hours and service history match |
Score each row pass, watch, or fail. Two or more fails means you price the repair into your offer, or you walk.
Undercarriage wear also tells you about the rest of the machine. Buyers weighing it against overall condition can read our guide on how to evaluate heavy equipment engine wear and tear before committing.
Turn Inspection Findings Into a Financing Decision
A documented inspection turns a guess into a number, and a number turns into a plan. The step most buyers skip is translating wear readings into repair urgency, likely replacement scope, and negotiation questions before they talk price. That translation is the buyer's decision framework, and it is where a good inspection pays for itself.
From Wear Reading to Repair Urgency
Sort every finding into one of three buckets:
- Monitor: wear is measurable but still inside the manufacturer's service limit. Note it, price nothing, and recheck at the next interval.
- Plan: wear is approaching the limit or a component shows early damage such as seal seepage or minor grooving. Budget for replacement within a known operating window.
- Act now: the component is at or past the limit, cracked, seized, or leaking heavily. Price the repair into your offer or walk away.
A common pattern is that one or two components drive the whole undercarriage bill. Track chains and sprockets usually wear together, so a worn sprocket next to a stretched chain often means both are due. Rollers and idlers tend to fail in groups on the same side. Use the pattern, not a single reading, to estimate scope.
Estimating Remaining Life and Repair Scope
There is no universal formula, and any guide that gives you one is guessing. What you can do is compare each measurement to the correct manufacturer specification for that model and component, then use the percentage of wear consumed to make a cautious estimate.
For cost, get a written quote from a dealer or independent shop for the components you flagged rather than relying on a rule of thumb.
Negotiation Questions to Ask the Seller
Bring a short list and write down the answers:
- When were the tracks, sprockets, rollers, or idlers last replaced, and do you have records?
- Has the track tension been adjusted recently, and is the adjuster near the end of its travel?
- Are there service records for the undercarriage, and do the hours match the meter?
When to Request a Professional Inspection
A visual pass is not a professional assessment. Request a qualified technician when any reading is borderline, when you cannot access part of the undercarriage, when records are missing, or when the repair estimate is large enough that being wrong would change your decision.
Once you know what the machine needs, decide whether the purchase still makes sense with repairs included. Compare our business funding options to match the machine and the repair budget to the right structure. If your credit profile is a concern, you can review our bad credit equipment financing options.
Get started with Equipment Finance Academy and turn a clean inspection into a funded machine.
Frequently Asked Questions
What are the OSHA requirements for equipment inspections?
OSHA's general industry and construction standards require that equipment be inspected before use and at intervals set by the manufacturer, with defects corrected before the machine goes back into service. For heavy equipment, that means a documented walkaround covering the undercarriage, guards, and visible damage. Always check the current 29 CFR text and the manufacturer's manual, because requirements vary by equipment type and site. A written record of the inspection protects both the operator and the buyer.
How can you tell if a track undercarriage is worn out?
Look for sharp, hooked sprocket teeth, pins and bushings worn past the manufacturer's limit, cracked or missing shoes, and rollers with flat spots or leaks. Measure pin and bushing wear with a wear gauge and compare it to spec. A track chain that has been run too loose or too tight shows uneven shoe wear. If several components are at or past their limits, budget for a full undercarriage rebuild rather than a single part swap.
What is the average lifespan of an excavator undercarriage?
Undercarriage life depends on soil conditions, operator habits, and maintenance, so there is no single number. In abrasive conditions like sand or rock, components wear faster than in soft dirt. Track tension and cleaning have a large effect on service life. Rather than rely on a general figure, check the machine's operating hours alongside measured wear to estimate how much life is left and what replacement will cost.
What tools do you need to measure undercarriage wear?
A wear gauge or caliper for pins and bushings, a tape measure for track sag, a flashlight, a mirror for tight spots, and a camera or phone for photo records. A torque wrench helps confirm bolt condition. Bring the manufacturer's wear limits so you can compare your readings to spec on the spot. Document each measurement with a photo so a mechanic or lender can review the findings later.