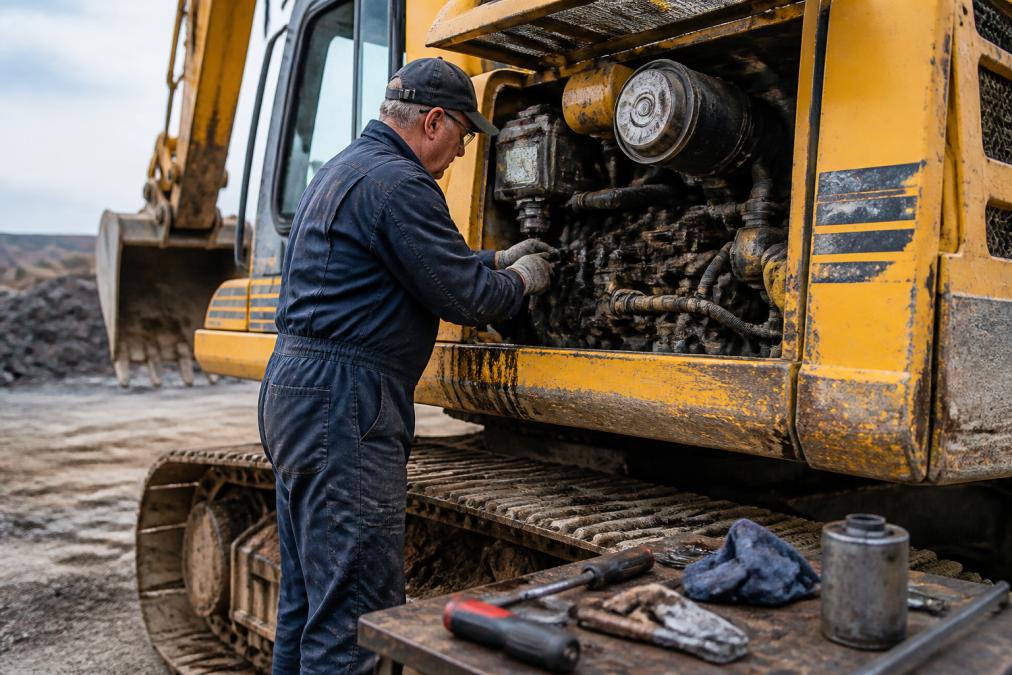
 how-to
Maintenance Tips for Older Hydraulic Excavators
Table of Contents
- Hydraulic Excavator Inspection Checklist for High-Hour Machines
- Signs of Hydraulic Pump Failure in Older Excavators
- Excavator Undercarriage Maintenance Best Practices
- Heavy Equipment Fluid Analysis: Your Early Warning System
- Lubrication, Filters, and Fluid Changes for Older Machines
- Sourcing Aftermarket vs. OEM Parts for Discontinued Models
- Environmental Rules for Fluid Disposal and Machine Retirement
- Frequently Asked Questions
Last Updated: September 13, 2026
Hydraulic Excavator Inspection Checklist for High-Hour Machines
High-hour hydraulic excavators reward disciplined inspection more than any other machine in the fleet. This guide from Equipment Finance Academy covers maintenance tips for older hydraulic excavators, from daily pre-start checks to fluid analysis and parts sourcing. Machines past 8,000 hours develop problems in predictable order: hoses first, then seals, then pumps.
Daily Pre-Start Checks That Catch Problems Early
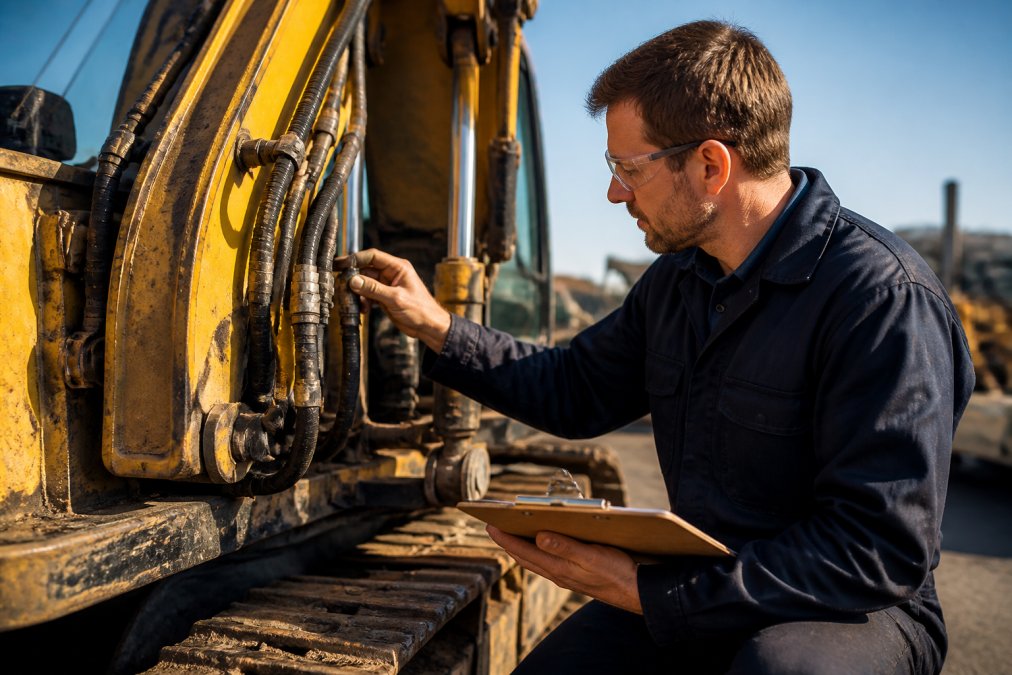
A pre-start check is a 10-minute walkaround that catches leaks, loose fittings, and damaged tracks before the engine turns over. Start with a ground-level scan for fresh fluid spots under the machine, then check hydraulic oil level, coolant, and the water separator. Look at every visible hose for chafing, weeping fittings, and cracked outer covers. Grease visible pins and bushings while you are down there. According to OSHA's guide to powered industrial equipment safety, pre-operation inspections are a core requirement for safe equipment operation, and the same discipline pays off mechanically.
Weekly and Monthly Inspection Points for Aging Components
Weekly checks cover what daily walkarounds miss: measure track tension on both sides, inspect welds and cracks around the boom, bucket, and attachment mounting points, and check bolt torque on track frames and counterweight bolts. Monthly, pull a hydraulic oil sample for contamination analysis and inspect the undercarriage for pin and bushing wear. Skipping the sample because the oil "looks fine" is a common mistake, by the time it doesn't, damage is underway.
Signs of Hydraulic Pump Failure in Older Excavators
The classic signs of hydraulic pump failure are slow cycle times, weak digging force, whining or knocking from the pump, and fluid that runs hot. On a high-hour machine, those symptoms rarely mean the pump failed first, it is usually the last component to go, the victim of wear debris, aeration, and heat that started upstream. Understanding that order separates a rebuild from a replacement.
What Actually Wears Out First on an Aging Hydraulic System
On machines past 8,000 hours, the failure sequence is predictable. Seals and O-rings harden, allowing internal leakage and air ingress. Suction hoses soften and collapse under vacuum, starving the pump. Relief valves drift out of spec. Only after those upstream problems circulate contamination and heat for hundreds of hours do the pump's piston shoes, barrel, and swashplate show real scoring.
Troubleshooting Pressure Drops in Aging Hydraulic Systems
Pressure drops in older systems rarely mean the pump is dead. Check the cheap things first: a clogged suction strainer, a collapsed suction hose, a failing relief valve, or air ingress through worn seals. Test main relief pressure at the gauge port against the manual spec. If pressure holds at the relief but drops under load, the pump is likely worn; if it never reaches spec, check the relief valve and pilot circuit first. This order saves money, replacing a pump that only needed a relief valve adjustment is an expensive mistake.
A few concrete checks worth adding to the routine:
- Case drain flow test. On a piston pump, measure flow from the case drain back to tank. A rise above the manufacturer's allowable limit indicates internal wear between the pistons and barrel, one of the few tests that isolates pump condition from the rest of the circuit.
- Suction vacuum check. Install a vacuum gauge at the pump inlet. High vacuum under load points to a restricted strainer or a collapsing hose, not a bad pump.
- Temperature split. Compare pump case temperature to reservoir temperature after a working cycle. A large split suggests internal bypass and heat generation inside the pump.
- Cycle-time baseline. Time a full boom-up, swing, and bucket-curl cycle when the machine is healthy, and log it. A 10 to 15 percent slowdown over a season is a real signal; a seat-of-the-pants comparison is not.
Why Aging Seals and Gaskets Drive Most Pump Failures
On a 15- or 20-year-old excavator, the rubber in the system has been heat-cycled thousands of times. Shaft seals, pilot seals, and O-rings that were once pliable are now brittle and glazed. A brittle shaft seal lets air into the pump inlet, causing cavitation, the pitting and noise owners often misdiagnose as a worn pump. A hardened O-ring on a pilot line weeps fluid until the reservoir runs low and the pump runs dry.
How to spot degrading seals before they take the pump with them:
- Look for a fine, dark film of oil around seal lips and fitting shoulders, weeping, not dripping, is the early stage.
- Squeeze a removed O-ring. If it cracks instead of flexing, the rest of the seals in that circuit are on the same clock.
- Check for glazing or hardening on the pump shaft seal during any service that exposes it.
- Watch reservoir fluid for aeration (foamy oil, milky appearance) that has no external leak source, that is air entering through a seal.
When to Rebuild vs. Replace
If case drain flow is within spec and pressure holds under load, the pump is serviceable, fix the upstream seals, hoses, and relief valve and re-baseline cycle times. If case drain flow is high and pressure falls off under load, the pump is worn internally. On discontinued models, a rebuilt OEM pump is usually the best middle ground: original tolerances at lower cost than new, and far more predictable than an unknown aftermarket unit. Match the rebuild source to the machine's criticality, a primary production excavator deserves a documented rebuild with a warranty; a backup machine can tolerate a lower-cost option.
Excavator Undercarriage Maintenance Best Practices
Undercarriage maintenance best practices come down to tension, alignment, and cleaning. Undercarriage components often account for a large share of total machine maintenance spend, so neglect gets expensive fastest here. Measure track tension per the operating manual and adjust to spec, too tight wears pins and sprockets, too loose invites derailment. Track wear on sprocket teeth, idler faces, and roller flanges, clean packed mud out of the track frame, and replace worn pins and bushings before they take the chain with them.
Heavy Equipment Fluid Analysis: Your Early Warning System
Heavy equipment fluid analysis is the practice of sending oil and coolant samples to a lab to detect wear metals, contamination, and additive depletion before they cause failure. It is the cheapest diagnostic you can run on an aging machine: rising iron or copper tells you a component is wearing before you hear or feel it. Establish a baseline sample when you buy the machine, then sample at every service interval to track trends, not one-off readings.
What Fluid Analysis Reveals About Aging Seals and Gaskets
On older excavators, fluid analysis is often the first place seal and gasket degradation shows up. Silicon and coolant traces in the oil point to a failing gasket or seal letting fluids mix. Elevated contamination with no obvious external leak suggests internal seal wear. Left alone, degraded seals let grit into the hydraulic system, which is what actually destroys pumps and valves.
Lubrication, Filters, and Fluid Changes for Older Machines
Lubrication, filter replacement, and fluid changes are the backbone of equipment longevity, and older machines need them on tighter intervals than the manual's original spec. Grease every lubrication point on schedule, especially pins, bushings, boom pivots, and bucket linkage. Replace air and fuel filters at the recommended interval and drain the water separator daily, since water in the fuel is a fast route to injector damage. Change hydraulic filters on time and use the manual's specified oil viscosity grade.
| Task | Frequency | Why It Matters |
|---|---|---|
| Grease lubrication points | Daily to weekly | Prevents pin and bushing wear |
| Drain water separator | Daily | Protects fuel system and injectors |
| Check track tension | Weekly | Prevents undercarriage and sprocket damage |
| Fluid analysis sample | Monthly | Detects wear and contamination early |
| Hydraulic filter change | Per manual interval | Keeps contamination out of the system |
| Hose and fitting inspection | Weekly | Catches leaks and chafing before failure |
Sourcing Aftermarket vs. OEM Parts for Discontinued Models
Sourcing parts for discontinued models is where older excavators get complicated. OEM parts offer guaranteed fit and quality but can be slow and expensive once a model is out of production, and for some components, the OEM has stopped stocking them entirely. Aftermarket parts are often faster and cheaper, but quality varies widely.
The Three-Tier Parts Reality for Legacy Machines
For a discontinued excavator, parts fall into three practical tiers:
- New old stock (NOS) OEM. Original factory parts still sitting in a dealer's or distributor's inventory. Best fit and quality, but availability is unpredictable and prices reflect scarcity. Worth searching first for critical hydraulic and drivetrain components.
- Rebuilt OEM. A used OEM core remanufactured to original tolerances, usually with a warranty. Often the best middle ground for pumps, final drives, and injectors, original engineering with a documented rebuild.
- Aftermarket new. Newly manufactured by a third party. Quality ranges from excellent to unusable. The brand name on the box matters far more than the price.
How to Vet an Aftermarket Supplier
Not all aftermarket is equal, and the difference shows up in the first 500 hours. Practical filters:
- Ask for the manufacturer's name, not just the distributor's. A supplier who won't name the factory making the part is a red flag.
- Check for a written warranty with a stated hour or month limit. "Satisfaction guaranteed" is not a warranty.
- Request material and hardness specs for wear parts, pins, bushings, sprockets, cutting edges. If the supplier can't provide them, assume commodity-grade.
- Buy from suppliers who specialize in your machine family. A generalist parts house is less likely to know subtle model-year differences than a specialist.
- Start with a non-critical part. Test a new supplier on a low-risk component before trusting them with a hydraulic pump or final drive.
Building a Parts Reference Before You Need It
The highest-value habit for an older machine is documenting it while it still runs. Photograph the data plate and part numbers on every major component, engine, pump, swing motor, travel motors, main control valve, and store the images where you can find them. Record the serial number and any model-year break points, because OEMs frequently changed components mid-production without changing the model name.
Managing Lead Times and Critical Spares
On a discontinued model, the real cost of a part is often downtime, not price. A few practices that pay off:
- Keep a critical spares shelf. For machines still earning, stock parts whose failure would stop the machine: a hydraulic filter set, a suction hose, a pilot seal kit, and any known long-lead component.
- Identify long-lead items in advance. Ask your supplier which parts typically take weeks to source. Those are the ones to stock.
- Build a short list of two or three trusted suppliers across the three tiers, so a single backorder doesn't stall the machine.
- Track what you have replaced. A simple log of part numbers, suppliers, and hours at replacement turns future sourcing into a lookup, not a research project.
When the Math Says Retire Instead of Repair
Parts sourcing has a breaking point. If a critical component is unavailable at any tier, or the only option costs more than a meaningful fraction of the machine's working value, the machine has reached the end of its economic life. That is not a maintenance failure, it is the natural end of a high-hour asset. Planning the replacement before the machine is down keeps projects moving and avoids paying a premium for a part that no longer makes financial sense.
Environmental Rules for Fluid Disposal and Machine Retirement
Used hydraulic oil, coolant, and filters are regulated waste, and disposal is not optional. Under EPA rules on managing used oil, used oil must be recycled or disposed of through approved channels, never poured out or sent to a landfill. Store drained fluids in labeled containers and use a licensed recycler. When an older machine reaches the end of its economic life, plan its retirement: drain and properly dispose of all fluids, remove and recycle batteries and filters, and sell or scrap remaining components through reputable channels. Doing this correctly protects you from environmental liability and often recovers value from salvageable parts.
Older hydraulic excavators stay productive when you inspect, sample, and service them on schedule, and when a machine has finally earned retirement, the next one shouldn't drain your cash flow. Equipment Finance Academy connects you with the nation's top equipment lenders through a trusted marketplace, with approvals in hours and same-day funding, so you can replace aging iron without stalling your projects. Whether you need equipment financing, equipment loans, or equipment leasing, get started with Equipment Finance Academy and keep your fleet working.
Frequently Asked Questions
What are the most critical maintenance checks for high-hour hydraulic excavators?
Focus on the systems that degrade fastest with age. Check hydraulic fluid level and clarity daily, inspect hoses and fittings for chafing or weeping, measure track tension weekly, and pull a fluid sample for analysis every 250 to 500 hours. Grease all lubrication points on the schedule in your operating manual, and watch for slow cycle times or unusual noise from the pump. Catching small changes early prevents the major failures that sideline older machines.
How does aging affect hydraulic system performance in excavators?
Seals and gaskets harden and shrink over time, allowing internal leakage that reduces pressure and slows cycle times. Contamination builds up as filters and breathers age, accelerating wear on pumps, valves, and cylinders. Hose linings crack, and fittings loosen from thousands of pressure cycles. The result is a machine that gradually loses digging force and precision. Regular fluid analysis and prompt seal replacement keep an older hydraulic system working close to its original performance.
What are the signs that an older excavator needs a major overhaul?
Watch for hydraulic pressure that stays below spec after filter and fluid changes, metal particles in fluid analysis reports, excessive blow-by or oil consumption from the engine, cracked welds on the boom or stick, and undercarriage components worn past their service limits. When several of these appear together, the machine is telling you a major overhaul or replacement decision is close. Get a professional inspection before committing to either path.
How can proper maintenance prevent hydraulic pump failure in older machines?
Most pump failures start with contamination or starvation, not sudden breakdowns. Change hydraulic filters on schedule, keep fluid at the correct level, and fix even small leaks before they drain the reservoir. Use fluid analysis to catch abrasive particles before they reach the pump. Watch for cavitation signs like whining or sluggish response, and check that the suction strainer and breather are clean. These habits add years to a pump's life.