 how-to
How to Transport Used Cranes Safely: 7 Steps
Quick Summary
To transport used cranes safely, inspect the machine and document its condition, match its dimensions and weight to the right trailer, disassemble it in the manufacturer's sequence, and secure every major component with rated tie-downs. Recheck the tie-downs often during transit.
- Write a condition report and have buyer and seller both sign it.
- Confirm the transport height, width, and weight against trailer and permit limits.
- Disassemble in the manufacturer's order, after lockout and blocking the crane.
- Secure boom, counterweights, and tracks individually with rated tie-downs.
- Recheck every binder after the first few miles, then at each stop.
Table of Contents
- How to Transport Used Cranes Safely: 7 Steps
- Inspect the Used Crane Before It Leaves the Yard
- Measure Dimensions and Choose the Right Trailer
- Disassemble and Prepare the Crane for Transit
- Build a Crane Transportation Checklist for Loading
- How to Secure a Crane for Transport
- Crane Transport Permits and Route Planning
- Paperwork, Insurance, and Handoff for Your Used Crane Shipment
- Frequently Asked Questions
How to Transport Used Cranes Safely: 7 Steps
Last Updated: October 28, 2026
Inspect the Used Crane Before It Leaves the Yard
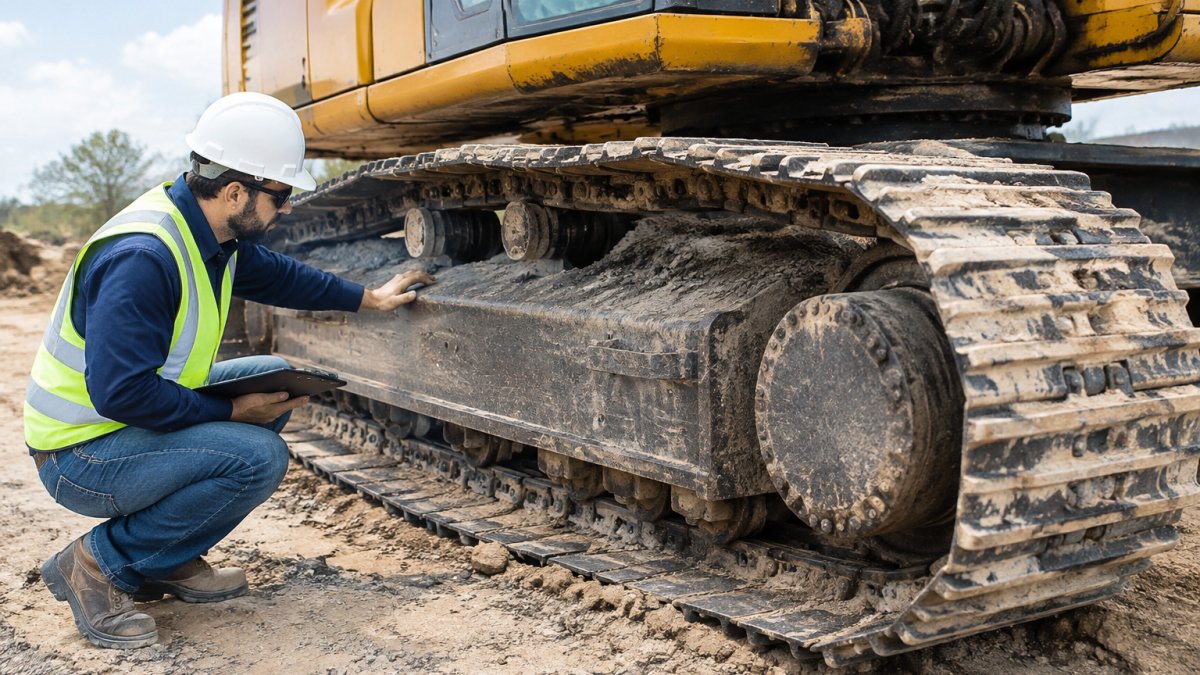
Every plan for how to transport used cranes starts with the crane itself. Before any transport, walk the machine with a checklist. For a fuller picture of what to look for, see the complete guide to crane maintenance.
Start with the basics. Check the boom, jib, outriggers, tracks or tires, and the counterweight. Look for bent sections, loose pins, and missing bolts. Test the controls and listen for unusual noises.
Documenting Condition and Damage Before Loading
Write a short condition report and have both buyer and seller sign it. Keep a copy with the shipping papers.
Measure Dimensions and Choose the Right Trailer
Measure the crane's overall length, width, and height in its transport configuration. Include any boom sections, counterweights, and rigging that will travel with it. Compare those numbers against the trailer's deck size and load limits.
Weight matters as much as size. Confirm the total load weight and how it will sit across the axles.
Disassemble and Prepare the Crane for Transit
Disassembly is where most transport damage and most transport injuries begin. A used crane that has been sitting, been partially dismantled by the seller, or been repainted to hide wear needs a deliberate preparation sequence, not a quick removal of whatever looks loose.
Confirm what actually has to come off
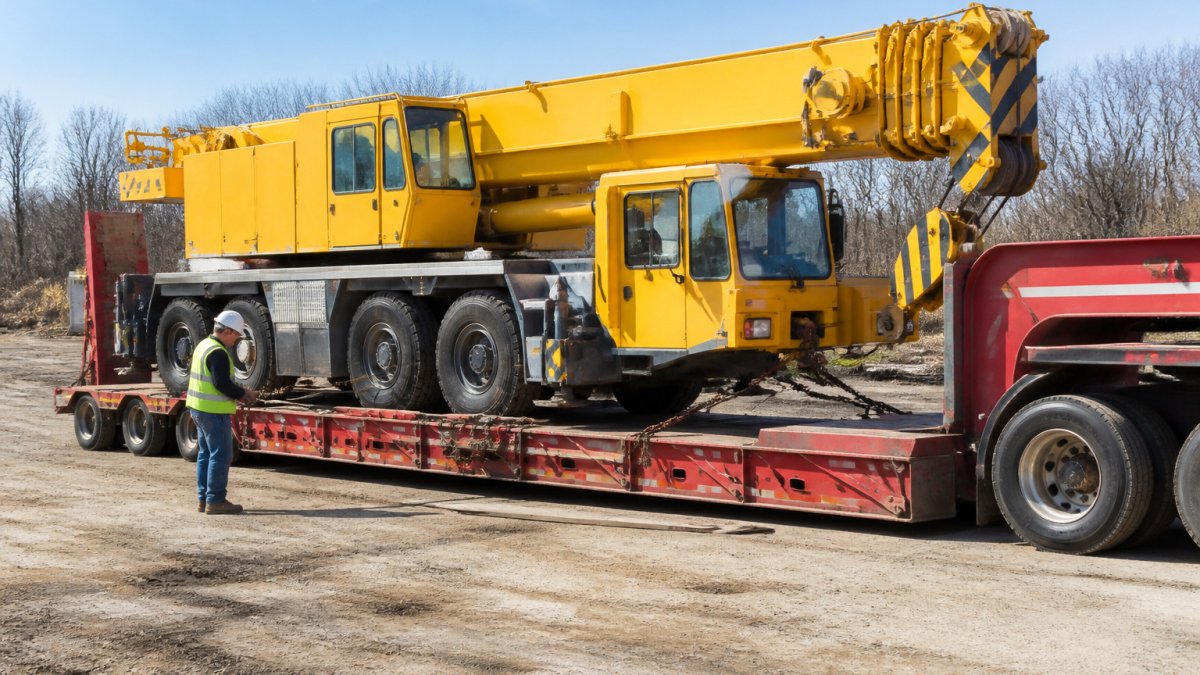
Start with the manufacturer's transport configuration instructions for that model. Most crawler cranes travel with the boom, jib, counterweight, and sometimes the tracks removed; many truck cranes travel intact but with the boom retracted and the outriggers stowed. Do not assume the configuration the seller used is legal or safe for your route. Confirm the transport height, width, and weight against the trailer and permit limits before any wrench turns.
The preparation sequence
- Lock out and tag out. Shut down the machine, remove the key, and tag the controls so no one starts it mid-disassembly.
- Ground and block. Set the crane on firm, level ground and block it so it cannot shift when weight comes off.
- Relieve stored energy. Lower the boom, bleed hydraulic pressure per the manufacturer, and discharge any accumulator pressure before opening lines.
- Remove in the manufacturer's order. Boom sections, jib, counterweight, and tracks come off in a defined sequence; reversing it can overload the remaining structure.
- Label and bag. Tag every component with its position and bag the hardware with the part it belongs to. Photograph each connection before you take it apart.
- Cap and plug. Seal hydraulic lines and exposed fittings so grit and moisture do not enter during transit.
Safety controls during disassembly
- Exclusion zone. Keep everyone except the rigging crew outside a radius at least equal to the boom length being handled. A dropped boom section or a swinging counterweight does not stop at the edge of the deck.
- Ground conditions. Outrigger pads or crane mats under every point that carries load; soft ground under a partially disassembled crane is a tipping hazard.
- Qualified operators only. The crane operator, the rigger, and the signal person each need to be qualified for the task. One person gives signals; everyone else stays clear.
- Stop-work criteria. Call a halt for wind gusts that exceed the manufacturer's limit, any hydraulic leak, any cracked or bent lifting point, or any signal that is not understood. Resume only after the issue is resolved.
- Communication. Agree on hand signals or radio protocol before the first lift, and confirm them in a briefing with the full crew.
Loading sequence and load-out plan
Write the load-out plan before the trailer arrives. It should list the order each component is lifted, the lifting points and rigging for each, where each piece sits on the trailer, and who is responsible for each step. Load heavy components first and low, keep the center of gravity over the trailer's axles, and leave the lightest pieces for the top. Confirm the trailer and load limits in writing, and hold a short safety briefing with the driver, rigger, operator, and spotter before the first pick.
Build a Crane Transportation Checklist for Loading
- Confirm the trailer and load limits in writing
- Verify each component is labeled and accounted for
- Plan the loading sequence to keep weight balanced
- Hold a safety briefing with the full transport crew
- Keep the area clear and the ground firm
The checklist below sums up the loading steps the article recommends before a used crane leaves the yard.
| Checklist item | Why it matters | Source section |
|---|---|---|
| Confirm the trailer and load limits in writing | Verifies the trailer can carry the crane | Checklist |
| Verify each component is labeled and accounted for | Prevents lost or mismatched parts | Checklist |
| Plan the loading sequence to keep weight balanced | Keeps the load stable in transit | Checklist |
| Hold a safety briefing with the full transport crew | Aligns everyone before the first pick | Checklist |
| Keep the area clear and the ground firm | Reduces tipping and impact risk | Checklist |
How to Secure a Crane for Transport
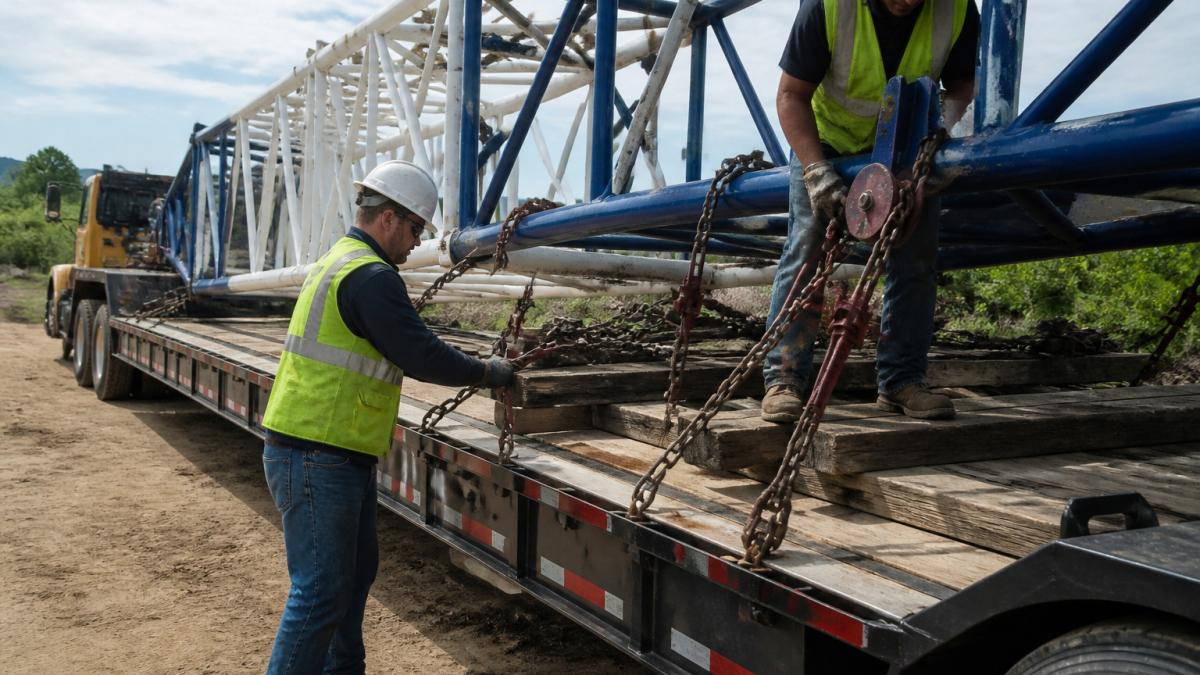
Securement is the last line of defense between a used crane and a highway incident. Generic advice, "use rated tie-downs and recheck them", is not enough for a machine with a long boom, a heavy counterweight, and loose components that can shift independently. Secure each major assembly as if it were its own load.
Securing the major components
- Boom and jib. Retract and lower the boom per the manufacturer, then secure the boom sections so they cannot telescope, swing, or bounce. Use the manufacturer's designated tie-down points; do not wrap chains around a boom section or through a lattice structure that was not designed for it.
- Counterweights. Stack and block counterweight slabs so they cannot slide, and tie each slab down individually. A counterweight that shifts in a turn changes the trailer's balance faster than the driver can correct.
- Tracks and undercarriage. Block the tracks or crawler frames against fore-and-aft movement, and tie down at the manufacturer's points. Do not rely on the machine's own brakes or parking pawl to hold it on a trailer.
- Loose components and rigging. Bag hardware, cribbing, and small parts, and secure them in a locked box or tied-down container. Anything that can become a projectile at highway speed must be restrained separately.
Working load limits and tie-down count
Use chain binders, rated tie-downs, and blocking at each contact point, and confirm every component's working load limit against the load it is restraining. The Federal Motor Carrier Safety Administration's cargo securement rules in 49 CFR Part 393 set the minimum performance criteria for tiedowns and the aggregate working load limit for the load; the practical rule is that the tiedown system must be rated for the load with margin, not just "tight enough." When in doubt, add a tiedown rather than remove one.
The recheck cadence
Tie-downs stretch and settle in the first miles. Recheck every binder after the first few miles, then at each stop, and again after any hard braking or rough road. Log each recheck with the time and location so the record shows the load was monitored, not just tied once.
Protecting the crane and the load
Pad every point where a chain or strap crosses the crane's finish or a hydraulic line. A chafed strap fails; a crushed line means a repair at the destination. Keep the load's center of gravity low and centered over the trailer's axles, and confirm the axle loads against the trailer's rating before departure.
Crane Transport Permits and Route Planning
Plan the route with clearance in mind. Check for low bridges, tight turns, and overhead wires. Mark the planned route and confirm it with the carrier and the escort company.
Paperwork, Insurance, and Handoff for Your Used Crane Shipment
If you need funding for the crane or the trailer moving it, review Small Business Administration equipment financing overview and our transportation equipment financing options. A step-by-step guide to preparing your equipment financing application can help you gather the right documents before you apply.
Frequently Asked Questions
How do you prepare a used crane for transport?
Start with a full inspection of the crane's structure, hydraulics, wire rope, and undercarriage, and record its condition with dated photos and notes. Drain or secure fluids as the manufacturer directs, remove loose parts, and disassemble any boom sections or counterweights that exceed the trailer's limits. Confirm the overall height, width, and weight of each piece before selecting a carrier, because these numbers drive the trailer type, permit requirements, and route. Keep the manufacturer's manuals and load charts with the machine so the receiving crew can reassemble it correctly.
Do you need permits to transport a crane?
In most cases, yes. A crane that exceeds legal width, height, length, or axle weight limits on public roads requires an oversize or overweight permit issued by the state department of transportation for each state the route crosses. Permit rules, fees, and escort requirements vary by state, so check each state's official DOT website and confirm the route before the move. Your heavy-haul carrier usually handles these applications, but the equipment owner should verify the permits list the correct dimensions and weights.
Does a crane need to be disassembled before transport?
Not always, but many cranes must be partly disassembled to fit legal limits. Crawler cranes are commonly moved in sections, with the boom, counterweights, and tracks removed and transported on separate trailers. Whether a crane can move fully assembled depends on its transport height and weight compared with the route's clearances and the permit conditions. Plan disassembly with the crane manufacturer's guidance so the crane can be reassembled safely at the destination.
What should you inspect when a used crane arrives?
Inspect the crane against the shipping condition report you created before loading. Look for new dents, cracked welds, leaking hydraulic lines, damaged wire rope, bent boom sections, and missing pins or hardware. Check that the tracks, counterweights, and outriggers arrived with the machine and that the serial numbers match the paperwork. Document any discrepancy with photos and written notes the same day, and notify the carrier and your insurer before the crane is moved again.
Equipment Finance Academy, LLC offers quick equipment financing with approvals in hours and same-day funding for owners who need to move fast. Start selling today.